
DISCLAIMER! The following blog entry borders on the ridiculous. The picture below is of fairly unmodified MG teams - these would work for most people. Myself...well, I am a bit of a stickler for details. To that end, I have decided to put a significant amount of time (that I'm sure could be better spent finishing other projects), into modifying my German MG teams. Also, dont get the wrong message, I am not anti-Battlefront. They do a fairly good job of making gaming miniatures - not scale models, and this is OK but for me, there is always room for improvement.

A few months back I was playing Schwere Kompanie with my buddy John and noticed he based his MG teams on a small FOW base instead of a medium. I really liked this idea as it fit the theme of a small base having a single casualty point and a medium base having two. Also, it reduced the overall footprint and helped lessen the 'parking-lot' syndrome of 15mm games.
Originally, I decided to use the medium base as the three-man teams plus MG were crowded on the small base but after deciding to reduce MMG teams to two figures, this is no longer a problem. HMG teams will forthwith consist of three-man teams on a (somewhat) crowded base.
I began collecting the appropriate minis. Battlefront makes a basic somewhat simplified (but robust) MG34 and MG42 on the Lafette mount. In my opinion, it is the best one out there for 15mm in metal. You could use as is but there are some real quality control issues with the latest products...


On the one-piece model, I began by removing the base as there was so much extra material and flash on the legs. This took a fair amount of time. I shaved the legs down to a more round shape and smoothed out some rough spots. I added foot pads to the legs by pinching the ends with needle-nose and reshaping with an x-acto. I reworked the incorrect recoil housing that the MG rests on - it should be angled instead of round. I removed the molded on carrying pads off the front leg and replaced. I angled the rear legs to define the joint where the wing-nut fastener is on the real model and added a small circle and nut. I re-scribed all the detail particularly the vent holes in the barrel and added in some that was missing.
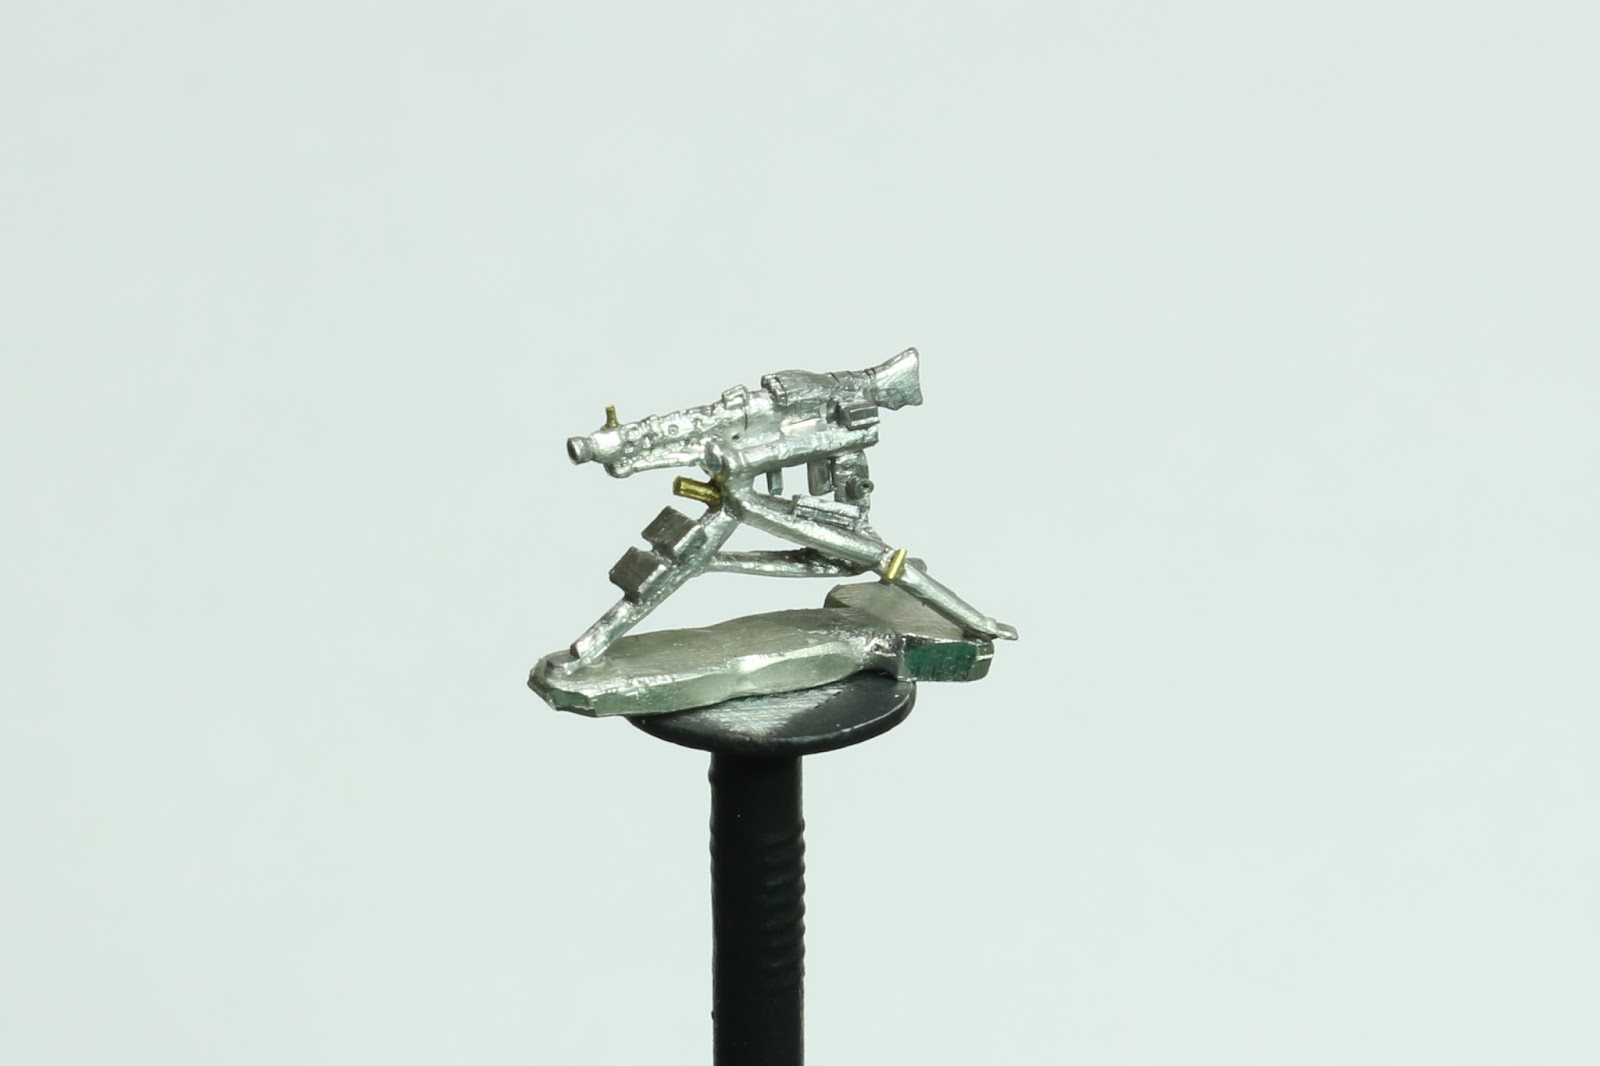
For the scratch-built two-piece, I painted up a non-modified version for comparison.


The prone crew just fit on the base; crouching figures will fit a bit better.


 I reworked the MG in a similar fashion as the one-piece and still have to add the wing-nuts and such but time spent scratch building the mount were significantly less than re-working the original.


I have primed this mini to check for missed crud and flash...

I may add leather pack slings to the tripod.
 As for basing, I will try to add a third crewman to distinguish between the sMG34 and sMG42 teams. The figure below is one of two early war figures included in the Battlefront German Heavy MG blister. He does require a fair bit of reworking of arm and hand to properly grip the firing handle but is probably the best one they make. I have a few other figures I will be converting as gunners to add variation to the teams.


Worked on the folded version of the tripod with a MG42...


Cheers!
Troy
5 comments:
Fantastic work Troy! That's crazy good!
I'm struggling to find the right words to describe how amazing this is at 15mm scale!
Wow! Just wow! I thought I went the whole hog with my Polish conversion work... this stuff totally takes the biscuit! Well done mate! Beautiful!
A very enjoyable post to read. The added bonus is that if your opponent pays much attention to the amount of detail on your MGs, he will probably be unnerved and lose the battle :-)
Regards, Chris.
NCERT provides various study resources to the students studying in different classes. Going through these study resources without fail helps the students in NCERT 6th Class Textbook understanding the details of the course, enabling them to be prepared throughout the academic year. Exam preparation, without a doubt, is much more convenient with these NCERT resources
Post a Comment