Tuesday, December 6, 2011

My thats a Long barrel...

Hey All.

I thought I would take a quick snap of the latest minis before I begin to paint them.

The ATR crews are earlier Battlefront (BF) casts and are typically large and reasonably detailed. The gunners are posed in a crouch instead of a prone position I am guessing as they wouldn't fit on a small base otherwise. They come with a pile of rocks which has the bipod molded on so if you are not using them, you have to make your own. I fashioned these with wire and choose a brick wall and scratch built some ammo cases to prop the loonngg barrel on. I added a carrying handle that is missing from the cast from brass wire and added a wooden handle by covering in two coats of PVA glue.

The BF Panzer IIIJ took a fair bit of working (or re-working...) to bring it to an acceptable level. This is really unacceptable for a premium priced kit. I paid $54.95 plus tax for this 5-tank box (GBX02) but it is not available on the BF website anymore. I must be old school because this just seems to be TOO much!

It says on the BF site:... "We are removing from sale the listed boxes to make room for new versions or their updated replacement." I hope they are reworking the PzIIIJ but as I look over the the 'new' 3-tank PzIIIG offering (GBX47), it looks identical to the 'old' PzIIIG...

The cupola was VERY poorly cast (as are all the others in the box) and had to be re-worked. The tracks and wheels were badly miscast typical of Battlefronts Panzer III and IVs. I spent way too much time cutting, carving and re-scribing the tracks. The end result is that I will still have to add some mud and soil to cover the imperfections. The trackguards needed a fair bit of sanding as did the tank body itself due to bumps and casting dust. The spare wheel molded on had to be removed as it was so bad it was unrepairable. I replaced it with spares in the blister but still had to re-work these.

Panzer IIIJ I will be using is to represent an early G from 1941 without the turret storage so I had to add the cupola bulge to the back of the turret. I used 2-part epoxy and cast some helmets from the left over epoxy with a press-mold I had made earlier with epoxy. I also added a tow cable, tool box, headlight, screened air intakes, (to cover the poor casting) MG34 hull MG, and handles missing from the wire cutters on the trackguards. It would be nice to have these details put into the original cast.

When it comes to poor kits, the PzIII is certainly up there, but is typical of most of the BF vehicle kits I have seen/built so far. While I have seen a few Plastic Soldier Company (PSC) plastic vehicles, I have yet to finish one. One thing that stands out on the PSC is the crisp detail and better scale. While the crisp detail is appreciated (squares are square, circles are round) the scale looks smaller compared to BF and others. Maybe this is because I am used to the overscaling but I find that if I look at the BF and PSC the BF seem to have character that is lacking in the PSC offerings. I guess its like an old raggy pair of jeans...

I will be painting up a PSC T34 (thanks Tanner!) alongside the Panzer III to see if they look better painted. One companies vehicles I have not seen in the flesh, are Forged in Battle (FiB). While I have a fair bit of their infantry, I do not have any FiB vehicles. From the website, they do look good!

Whew! Thats enough bitching (for now).

Cheers!

Troy

Monday, December 5, 2011

On to the Russkies...

Hey All!

With the 6th Army Germans done, its time to paint someone for them to fight! I plan on attending and hosting a game at the Salute 2012 in Vancouver in April so I am endevouring to complete enough units and terrain to play out the introductory scenario from my rulebook 'Schwere Kompanie' in 15mm.

 I will be painting up a Panzer IIIG that I am currently re-working to a early version without turret rear storage box as well as a Russian GHQ, ATR and 45mm Model 32 anti-tank gun and crew.
I based up a platoon of four squads and posed them with the other Russians I have done.
I added some distractions to the Squads to break up the monotony. I really don't want the army to be lugging around wall and trees but I think that the odd item doesn't look too out of place on the battlefield.
Bricks are cut from sponge and painted a couple different brick colors.

Sign is reduced from a pic and wire is made from bug screen and wire twisted up with drill and glued.
Should have a few pics of the Panzer G and ATG up soon...


Cheers!

Troy

Wednesday, November 30, 2011

6th Army Grenadiers

Hey All!

Finally finished re-basing my Grenadiers with the new style and finished the heavy weapon teams. Really happy with the new basing, it was a real issue with the old ones, I was happy with the figures but the basing really picked my ass. I just couldn't leave them alone!

Above is a 8cm Granatwerfer 34 team with a converted loader and a few scratchbuilt rounds and cases. As there really isn't a good 41-42 mortar loader figure in a standard uniform as of yet from BF, I decided to make my own. I used a HG figure with short boots/gaiters and a long tunic.  I cut the jacket down to resemble a '41 style tunic and added pockets.


The fence is based on photos of WWII-era Russian fences in and around Stalingrad. I made a single mortar round out of epoxy and cast extras with heated plastic sprue. I completed two mortar and four sMG teams as well as a three Panzerbüchse teams.


I added a few extra goodies to the teams such as spent shells, ammo boxes and the like.


Cheers!

Troy

Sunday, November 13, 2011

Pictures From Europe 2010

Hey All!
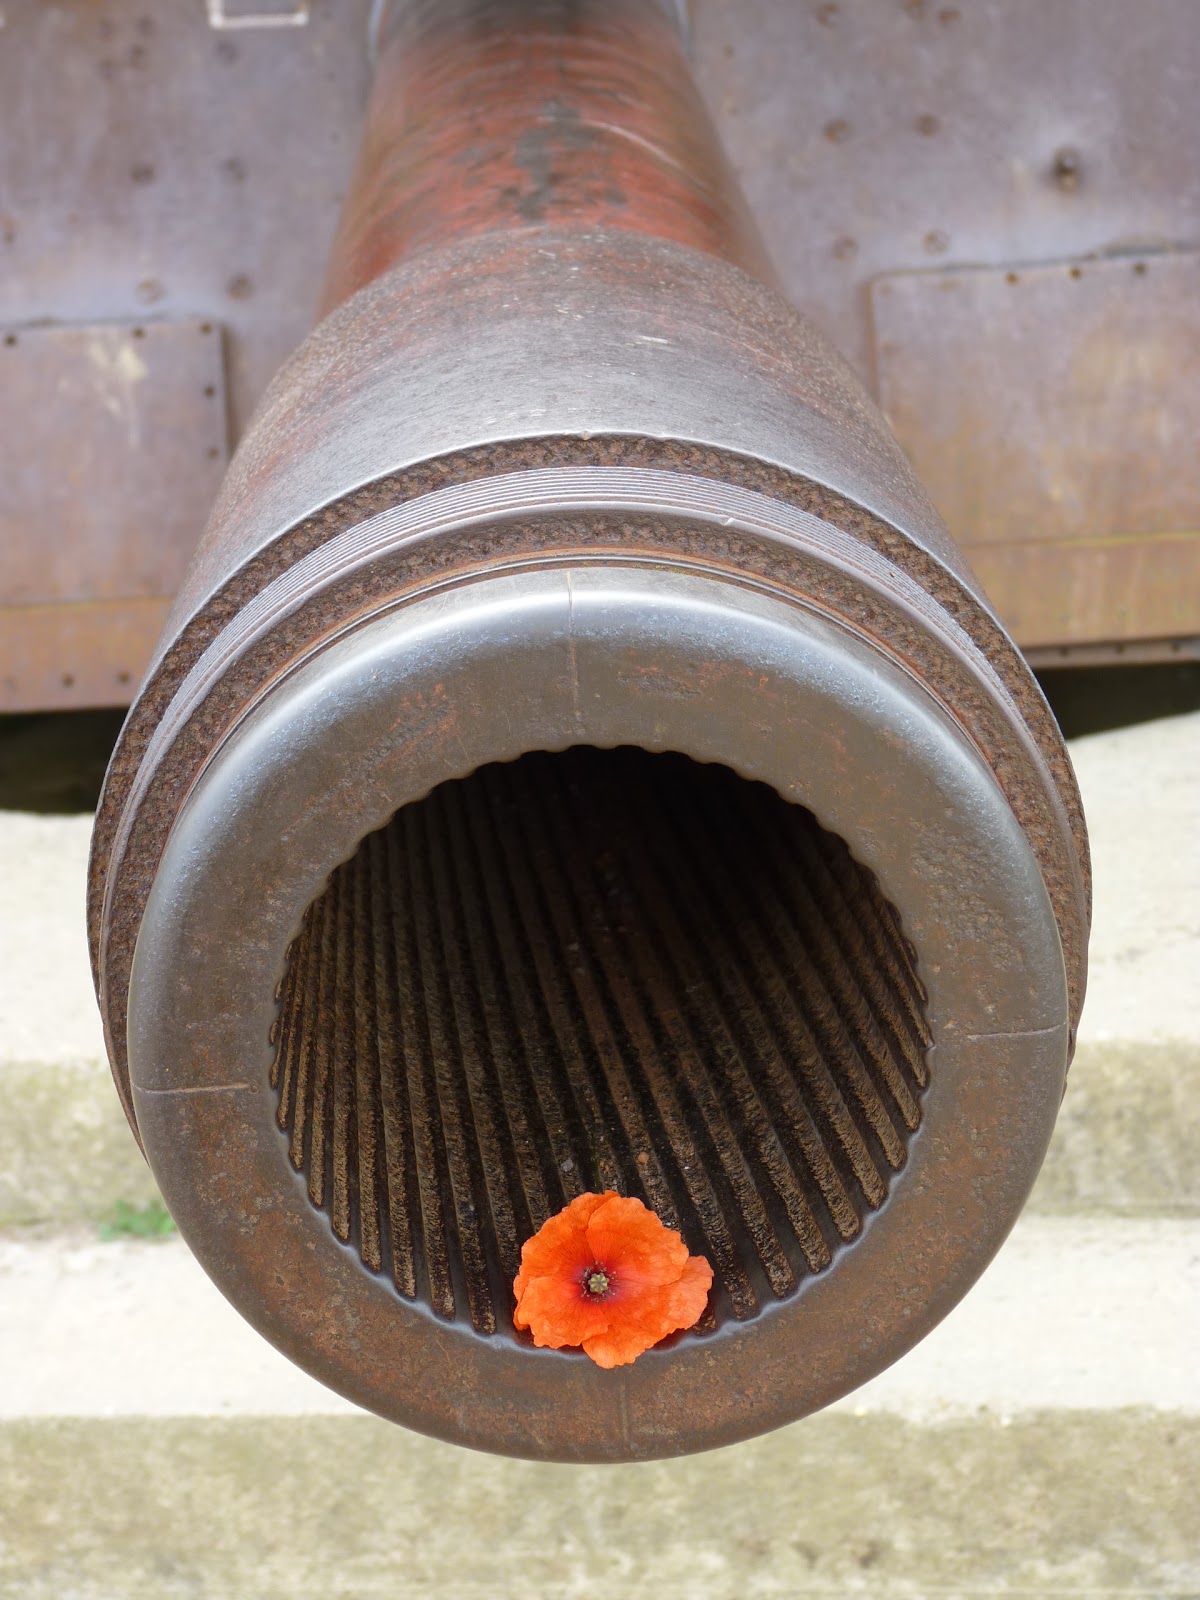
A few pictures from my trip to Europe from 2010. As these are from the front end picture from the blog, this post will be added to as the pictures drop off the home page...

FlaK 8.8cm...
FlaK 88


 ...disabled.

Omaha.


7.5cm PaK 40 rusting away near Omaha beach.

Abbaye d'ardenne


The massive Abbaye d'ardenne seen through a shellhole in the wall surrounding the monastary.


Moon over Paris...

British 'flimsy' in the woods near German positions, Carpiquet battlefield.

 Bunker overlooking Omaha 


Jagpanther at the Royal Museum, London.

Cromwell from Bovington, England.

Dieppe, France at sunset.

Canadian graveyard, Dieppe, France. As the Germans buried the Canadians after the raid, soldiers are buried head to head as opposed to head to toe. As they were buried with full military honors, after the war the Commonwealth war graves commission chose to leave them as they were.

Omaha Beach.

Church at William the Conqueror's castle near Caen. Bullet holes compliments of WWII...

 Cutest damn Jerrycan, almost bought it in Brussels!

German Sd.Kfz 251 Ausf C at Bovington, England. Smaller than I expected it to be...
 
Getting creative...

Monday, October 31, 2011

Base Re-design.

Hey All!

Having started terrain boards for Russia - specifically the battles toward Stalingrad, I came across a website with many great modern pictures of the areas I am planning to model. The site is here:

http://tonygillham.com/albums/

Its a great collection of pictures that show the terrain and building of many areas I am trying to replicate. One drawback of this was that I realized that the current basing of my Grenadiers is off. I was never really happy with them anyway and thus began what most people would consider a serious waste of time! I removed all the basing on 30 plus stands and started again...Luckily, I used PVA in the original basing so a simple soak in plain water softened the material up enough to remove with little effort. I was worried that the minis themselves would begin to lose their paintjobs so kept the bath time short!

Pictured below is somewhat what I am trying to represent. It is a picture of a gully near modern Spartanovka  from Tony Gillhams site...


Ignore the gully bottom grass and look to the right. This is what I am looking to represent. What I came up with to replace the original is, in my opinion, better representitive of the silty, grassy steppes characteristic of the areas around Spartanovka and Stalingrad. Its a mix of blond-colored static grass and Silflor 'Buffalo Grass' which is a very expensive product but looks great!


I applied the blond static grass using my home-made Ion generator (cost about 5 buck) instead of the Noch $200 dollar job. It works pretty good but Im sure the extra 195.00 would be worth the difference -ya right!

I used the late summer version of Buffalo Grass but felt it was too dark so I finished up by drybrushing the ends to get the proper lighter two-tone effect I wanted.

As well, pictured above are the finished tree bases. The originals were a quick fix and were pretty boring looking so I spruced (lol) them up with sloped sides and a mossy, rocky ground cover.

Three down, 27 to go!

Cheers!

Troy