Sunday, September 16, 2012

70th Anniversary of 13th Guards Counterattack!

Hey All!
 
I have not forgot about completing the faces tutorial but I have been working on a few related projects - namely increasing the forces I have available to game Stalingrad-era battles with. The battle of Stalingrad has always been a fovorite subject of mine since I learned about it as a boy. I first read about it on the back of an Airfix or some such playset I received after hours of begging my parents!

I remember too the first scenario in Avalon Hills Squad Leader 'The Guards Counterattack'. I played the hell out of the first 3 scenarios and I think I have been trying to capture the same gaming excitement ever since!

I have begun a 4-vehicle Panzer IIIJ platoon of the 24th Panzer Div. I started by cleaning up the Battlefront casts  - big job -  and planning the customizations. The worst was the cupolas. Lots of filing and sanding!  I also removed the extra resin under the chassis with a belt sander. I then used JB Weld (KWIK) to attach the tracks to the hull. This incredibly strong epoxy product sets up in 15 or less minutes and is highly recommended. Just make sure to get Kwik or it takes overnight to setup!

The BF Panzer III is a pretty poor cast but it is savable. Another problem I have with it is the 7-hole incorrect wheels. I know, I know, I'm a bolt counter but come on, there should be 6 holes evenly spaced and another 6 small holes inter spaced. I could live without the small holes but the big ones, really?!

I added a new gunbarrel, (corrected the BF overly tapered one) tools, hooks, wire cutter handles (the molded ones were missing on all casts?) fender storage boxes, hull MG, Notec and regular headlights (none cast), and screened air intakes. I also detailed the turret stowage box with clamps and etched-in detail. If you are careful, you can scribe the resin and pewter with various details to increase the realism of your minis. 
 
The stowage rack on the real deck was made from thin brass sheet and filled with various 15mm gizmo's. I added a extra roadwheel to the fender but had to rework it as it was too wide and too tall to allow the turret to turn. It should really trade places with the jacking block...I primed with flat white and cleaned up any surface bubbles and bumps that didn't show up without the prime.  I will post pics of the other three as I complete the work.
 
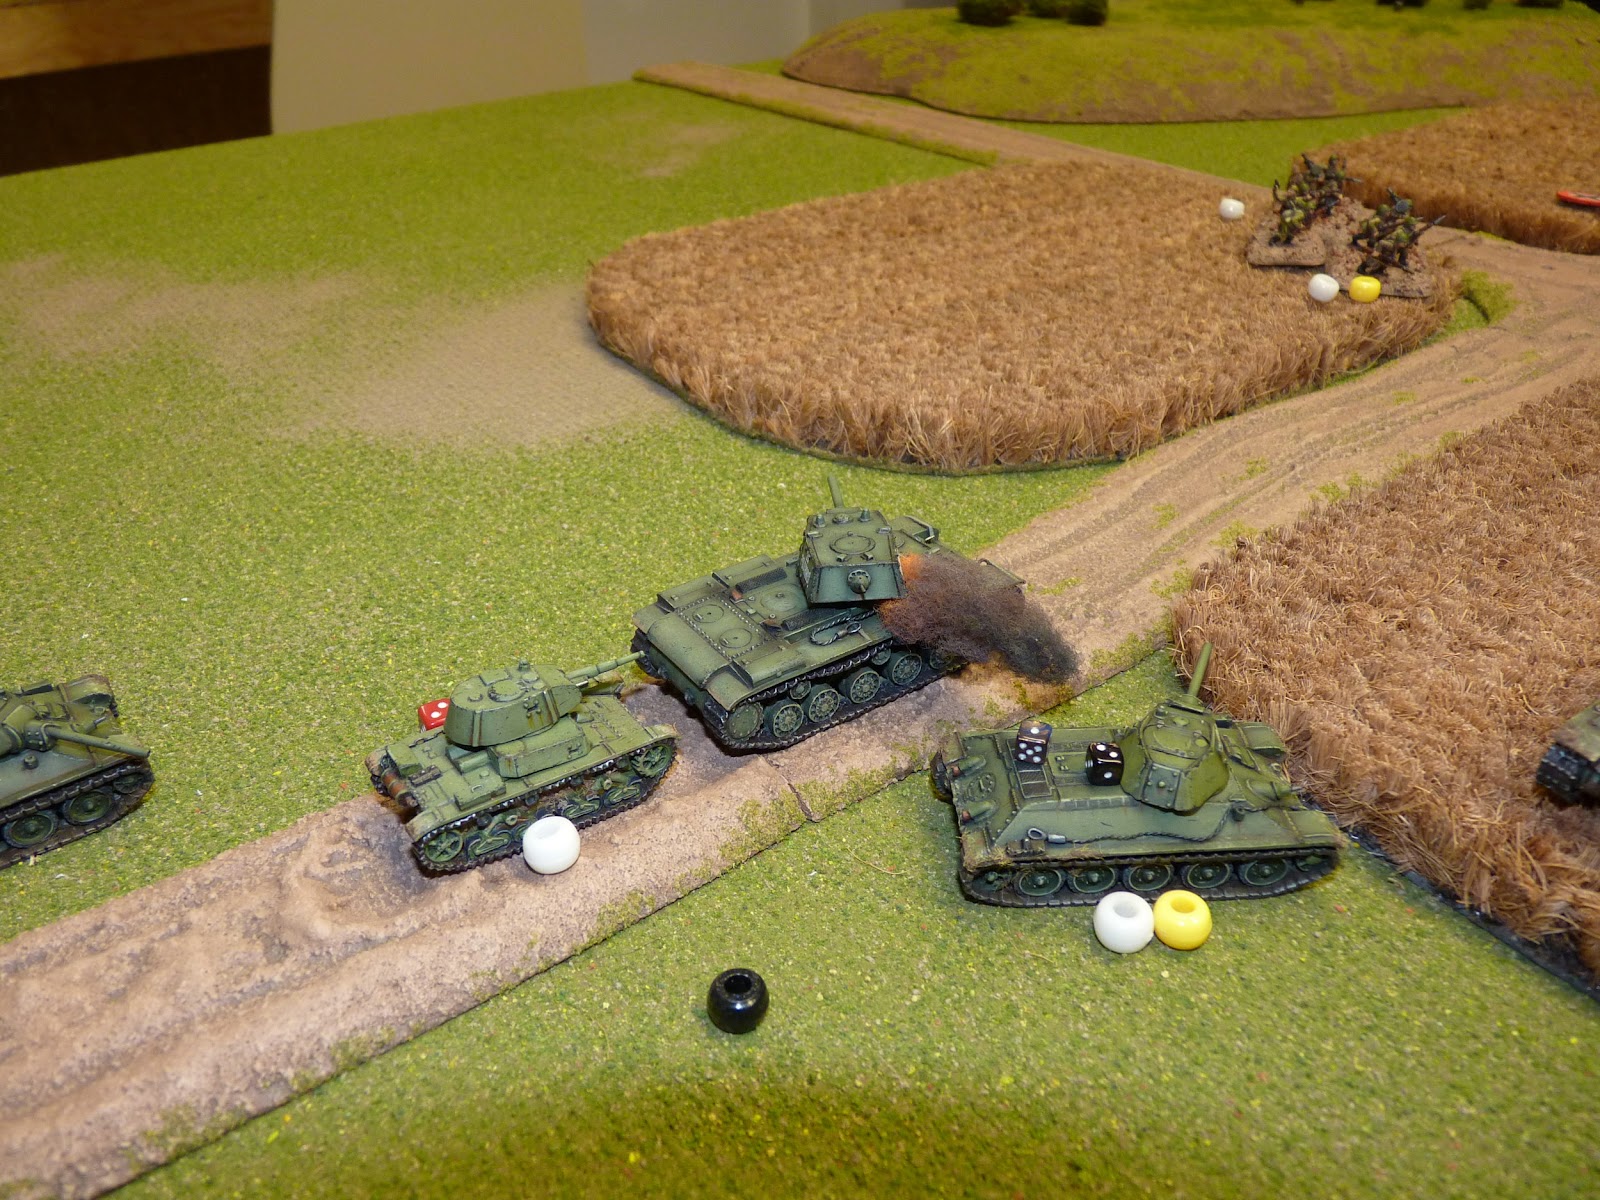
I also based up an Assault squad of 13th Guards and detailed up the Molotov with a painted sponge flame. These are really great sculpts! Easy to paint, good face detail and clean lines.
 They have oversized hands and faces (easier to paint) no necks as well as stunted bodies but are very robust and will stand up well to gaming. While not perfect, I prefer these to Forged in Battle or anyone elses currently out there.
 I am planning to paint up another eight teams so have a fair bit of painting ahead! Base style will be similar to the earlier teams I have painted but with a more 'Industrial' edge to them (think factory rubble).
 I went a little blue -er (dark sea blue 898 instead of dark sea green 868) on the PPSH's and like the result but I may mix the two in future.
 
 I also did up a test stand of Sturmpionere's. While there is a blister of mid-war Pioneres available (GE726 Pioneer Platoon) and there are a few good figures in it, they are an ad hoc assortment with only about half of them usable. I sifted through all of my other Germans and came up with twenty good minis to represent platoon.


I changed out the head of the left chap and added a cloth helmet cover to him and his mate. I removed the pole charge and subbed in a MG34 to the middle figure as he is a good cast but looks out of place with the charge.
 Another good source of Pioneres is the GE884 Oberfeldwebel Schmidt & Assault Troop. They are a good group of action poses armed with PPSH's and lots of grenades. I plan on using a fair bit of the figures sprinkled in the teams.
 Basing will be similar to the Grenadiers I have done except, as in the Russian Guards, there will be some factory junk strewn about.

Cheers!

Troy

Thursday, August 9, 2012

Faces!

Hey All!


I have been a bit busy as of late - Summer and knee surgery! Can't do too much but I'm well enough to get back to painting!

Pictured above are some Soviet Platoon HQ Stalingrad-era fellows and my wet palette made with a Folgers Coffee can lid, Parchment paper and ass-wipe (I now use a sponge). Add water and your paints stay wet for days... Too bad it doesn't work on the wife...

To paint faces, I use Vallejo colors from top right to left:

817 Scarlet
876 Brown Sand
803 Brown Rose
342 Highlights Flesh (white and flat flesh same-same, I'm just lazy)
845 Sunny Skin Tone
955 Flat Flesh
822 German Camo Black Brown
872 Chocolate Brown

I also use 815 Basic Skin Tone as the basecoat. Lets see, that's 9 plus white and black. Holy crap! No wonder its taking me so long to finish anything! I begin by taking a white-primed figure and painting an undercoat of 815 on all the face and hands. Try to keep the paint thin. I add about 1/2 drop of water to a full drop of well-shaken paint. I let this dry usually overnight but if you are in a hurry, into the oven for about 15 minutes at 150-170 degrees Fahrenheit.

These figures are part of a platoon of Assault squads that I am putting together. I plan on having four squads when complete. I will probably add a flame from the Molotov later. I am continuing to attempt to lighten the highlights to get more contrast.
 The figures on the left will become -1 Platoon HQs. I painted them straight out of 'The Soviet Soldier' by Histoire&Collections book.

Stay Tuned!

Troy


Saturday, July 21, 2012

Game On!

Hey All!


A buddy of mine, John Atchison, popped in for a great night of wargaming using Schwere Kompanie rules and we had a blast!

We played a scenario loosly based on the 16th Panzers attacks toward the city of Stalingrad during early September. John took Germans, myself, the Russians. The scenario was a meenting engagment and the fight centered around two objectives:


The Village...

...and the Crossroads.

Forces were a platoon of five Panzer IVf1s with a StuG III and a Panzer IVF2 along with a reduced company of Grenadiers (and a pesky hidden sniper!) in a meeting engagment with a three tank platoon of T34s and a early KV1 and T26 supported by a similarly reduced Russian company ('cause thats all I had painted up!).

We started out with healthy snacks...but later, out came the chips! (and the wine).

As the Russian armor was radioless, it was grouped (incorrectly) into a single platoon. (I should really READ the rules one day!)

 I attempted to bring the platoon on to capture the crossroads but the KV stalled on entry so the rest of the flock milled about...I brought a half platoon of Infantry to keep the Grenadiers at bay...


I sent the bulk of my Infantry along with ATRs and MMGs to capture the Village objective.


Focus! Ritter FOCUS! 

John brought on some armor to the hill, notably the Panzer IVF2 with the deadly 7.5cm KwK. 40.  This would be the Russian armors' nighmare! As this was the first battle that the F2 was in, I secretly hoped it would get some kills! 


He brought on the rest of his armor (after I found it hiding under the game table!) to support his Grenadiers and MMGs countering my advace toward the Village.


"...man, He keeps taking my picture. I wonder if this will end up on the internet?"

My ATRs kept Honest John honest as they stalked his armor within the village...


I attempted to mow down the attacking Grenadiers with a platoon of 1st line but my dice had other ideas. Unscathed, the Grenadiers retreated into the cornfields...I then attempted to get into position to Hand-to-Hand his sMG34 team in the village terrain near his armor, forgetting that there was a Grenadier IN the building (damn removable roofs!).

Point blank anyone?

The Squad perished cursing his forgetful commander...


I did get a little payback as John ran across the street with a lone squad to attack my GHQ. A few rounds from the DP27 squad LMG reduced and broke him and sent him routing away (top of photo).

Again the ATR stalked the Panzers but only succeeded in changing the direction of their attack...


...Then things REALLY started to go wrong...A T34 and the Panzer IVF2 started to duke it out resulting in an Immobilized T34.  Then the KV joined in...dead KV...


Crew abandoned the immobilized T34 as the StuG started to knock them about...T34 broke a main gun...and I started to pout...


All in all, a great game none the less! We found a few areas of the rules that needed tweaking and had a great time table talking WWII. Now I really need to get some more Infantry and terrain painted!

BTW, if you want to see the pictures in full size, right click on the image in the blog post and choose either open link in new window or tab.

The Winners!
Cheers!

Troy

Thursday, May 24, 2012

Too Much time on my Hands!

Hello All!

So for farts and giggles, I decided to add some detail to the remaining Panzer IVs I had. The earlier BF sculpts have a few tools and the like missing as well as some details so I thought it might be fun to super detail one to see if the results are worth it.

I re-detailed the fender headlight into a Notec light and re-carved the fire extinguisher. Also on the left, I added wire cutters, proper shackle hooks (molded ones are incorrect for Ausf F onward), wrench,  spare wheel mount, barrel cleaning rod, slack adjuster tool, a spare helmet, rear smoke discharger,  rear taillight and fender detail.
On the right, I added a shovel, additional cleaning rod pieces for long 75mm, a packsack, helmet, fender detail and some parts to the jack. Once done I then discovered that the right fender and hull were horribly mismatched. The cast was badly warped and refused to sit right no mater what filing and sanding took place. The angle on the resin hull ment that it either sat up or down but not straight. I decided to pin it into proper position (as close as possible) and fill the gaps with putty and cover with sandbags.
 On the front I added the pins to the tow hooks and eventually plan on adding a tow cable and new barrel. Many small detailing was added to the cast hull (screw holes and the like) that may show up in the close ups.


Stay tuned for more updates!

Added the brass barrel, hull MG, a tow cable and a few other small details.

 I added the radio antenna, folded down, a couple spare track links, and a scratchbuilt gasmask cannister beside the packsack. Next up, prime and basecoat!


Cheers!

Troy

Tuesday, May 22, 2012

My First Camo 15.

Hey All!

 I may detail the crewman a bit more but I pretty much have completed the Panzer IVf2. I added some scratchbuilt epoxy sandbags and rolls, a pail, a tow cable, helmets, and a few gas cans.
I painted the vehicle up as a DAK vehicle re-routed to the Ost front. It sports a quick overspray of Panzer Grey. As far as I can tell this is plausible and I think that it looks similar to the color plate I posted a few entries back...although a bit cleaner!
I know , I know, the balkenkreuz and the tow cable are reversed in the rear! I dunno what I was thinking but actually realized it only after posting the pics!
 I used a dark brown wash and highlighted the edges with a lightened base color to show where the camo had worn off. Also, I painted in a few small details like roof and hinge screws and weld seams on the turret.
The mini is a typical early Battlefront product and suffers from poor detail on the wheel boggies, wrong or missing tools, and a terrible cupola (pretty much had to carve from scratch). I realize that BF is not in the business of making scale models so this does fit the bill for wargaming nicely.

Actual color plate below...

Cheers!

Troy

Tuesday, May 15, 2012

24th Panzer Division PzKpfw IVF2

 Hey All!

So after searching the 'net and my reference books, I have come to the conclusion that the Panzer IVf2s armed with the L/43 7.5cm K.w.K.40 that were supplied to the panzer divisions that were taking part in Fall Blau, may have been originally destined for the North African campaign and factory finished in Grunbraun Gelbbraun RAL 8000 or Sandgelb RAL 8020. Perhaps they were rerouted to the East front?!

There were aproximatly 12 vehicles given to most panzer divisions in March 1942ish. I am thinking that this is the color shown in the previous blog entry color photo. It looks to me as if it has been oversprayed in Schwarzgrau (panzer grey). Feedback?

So I begin a trip into uncharted painting territory. I have basecoated the PzIVF2 in a mix of Tamiya Desert Yellow and white. This will be lightened later. The plan is to add light Tamiya XF-63 German Grey bands and sqiggles then lighten and highlight/wash.  I think the vehicle will be dusted extensively to blend a bit. Stay tuned!

 I finished mudding up the two T34s and flatcoating. I think the paint job darkened up a bit with the addition of the two coats of Vallejo flat I am a bit dissapointed...although the final look is pretty close to the first T34 I painted up a few years ago (number 7)


Cheers!

Troy

Tuesday, April 17, 2012

Damn Near Done

Hey All!

A few pictures of the two T34s...

  I think I may have overdusted the rear and top of the minis - sometime less is more. One has to be careful using the airbrush; you stand the chance of overpowering all your earlier work!

 Still have to matt varnish over the decals and such. I really had to imbellish the grillwork as the detail was just not there.

 I may add some grass clumps and mud to the running gear to cover the flaws in the tracks and wheels but overall, these are pretty good minis.

 I used mostly Tamiya for base coat with Vallejo washes and filters. The base color is XF-58 Olive Green lightened 2 to 1 with XF-4 Yellow Green.

Cheers!

Troy