Hey All.
I have been thinking about building terrain for about a year now and as we head off into another loooonnng Canadian winter, I think its time to get started.
My 15mm armies (German and Russian) have been shelved for the time being as I begin this project but will be worked on again soon...

In doing research, I came across a cool product from Litko - plywood hexes! Originally designed as miniature bases, they can be purchased in 100 lots for 15-25 dollars depending on size. Pretty neat idea, building modular terrain from these (more durable than GHQ styro, and fit looks tight) but setup and design may be a bit time consuming. I have done GHQ hex terrain in the past and it can be a pain keeping the map from shifting. A fellow blogger has a good write-up here:
http://smallworldproductions.blogspot.com/2008/05/hex-appeal.html
I have looked into a bunch of methods but have decided to go with 2' x 4' x 4mm hardboard backed with 2" x 3/4" plywood strips on edge for support. Onto this I will place terrain pieces (village, woods, hills and fields) to be based again on the 4mm hardboard. One problem with this method is below ground level terrain (rivers and gullies) but I think I may be able to make a river board by adding below grade banks and water.
The 2'x4' size should be small enough to transport to gaming cons and still large enough to have a good sized game on with 15mm. As well it means only a single cut on the table saw as the hardboard comes in 4'x8' sheets.
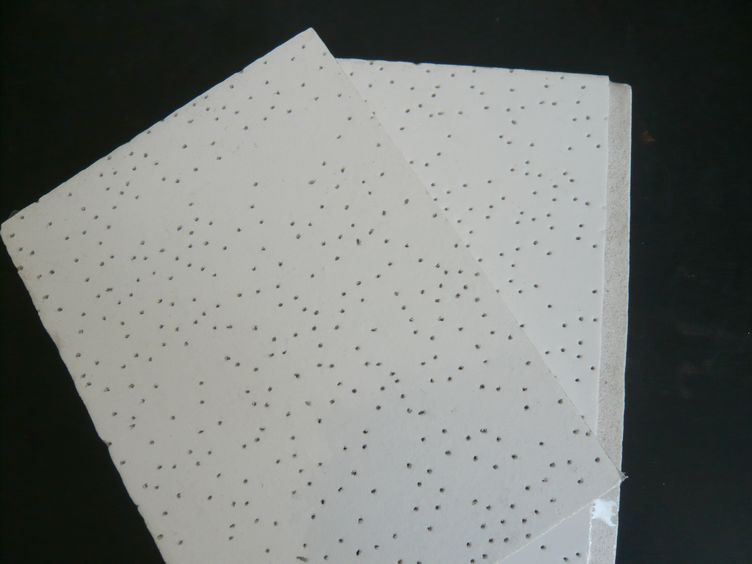
I originally was going to use paper/celulose based ceiling tiles as these can be easily sanded, gouged and painted but they are too flimys and need to be based on hardboard for strength. As well the edges are prone to damage even when painted with PVA and I am not sure they wouldn't warp anyway.
I also looked into blue SM styro insulation but it is very expensive and its also pretty flimsy, again needing to be supported. As well, it has health issues when sanding and as it is waterproof, it does not take paint as well as the old 'pink' SM did.
Stay tuned!
Troy


